Setup Web Admin Dashboard
Admin Dashboard is a web-based control panel designed to manage and monitor your Chess app, that contains features like user management, streaming control, settings & configuration, and more.
Our Admin Dashboard is build on React JS with Typescript, and Shadcn UI for the UI components.
Prerequisites
Before starting, you need to have the following installed:
- Node.js
Step 1: Install dependencies
- Open a terminal and navigate to your
/AdminDashboarddirectory, and install all the dependency :
npm install
Step 2. Create .env file
-
Create a new file named
.envin the root of your project/AdminDashboarddirectory. -
Copy the content of
.env.examplefile and paste it in the.envfile.
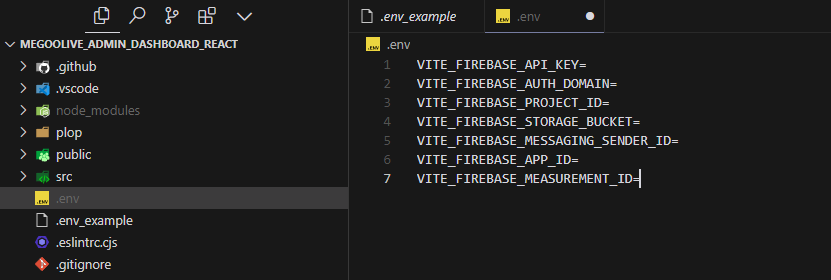
we need to fill all the variables in the .env file, we canget that from our Firebase Project
-
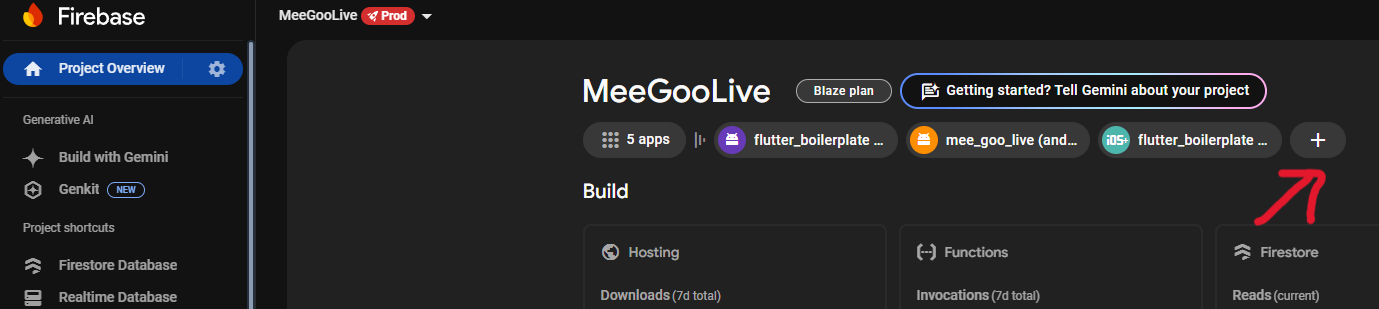
Open your Firebase Console and go to the
Project Settingstab. -
From Firebase Console Dashboard, click Plus Button to create a new App
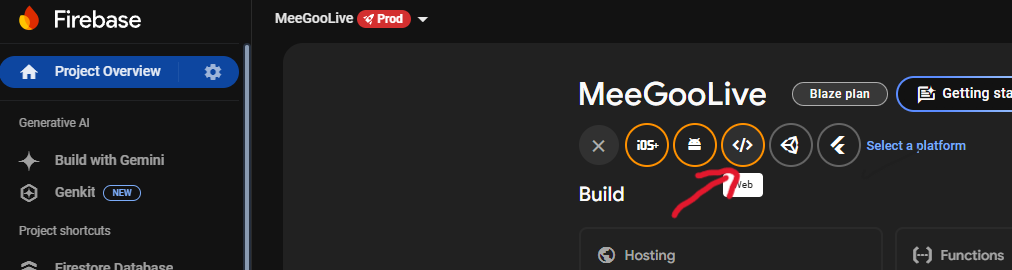
- Choose Web as the platform and click Next
- Fill the App Name and click Next
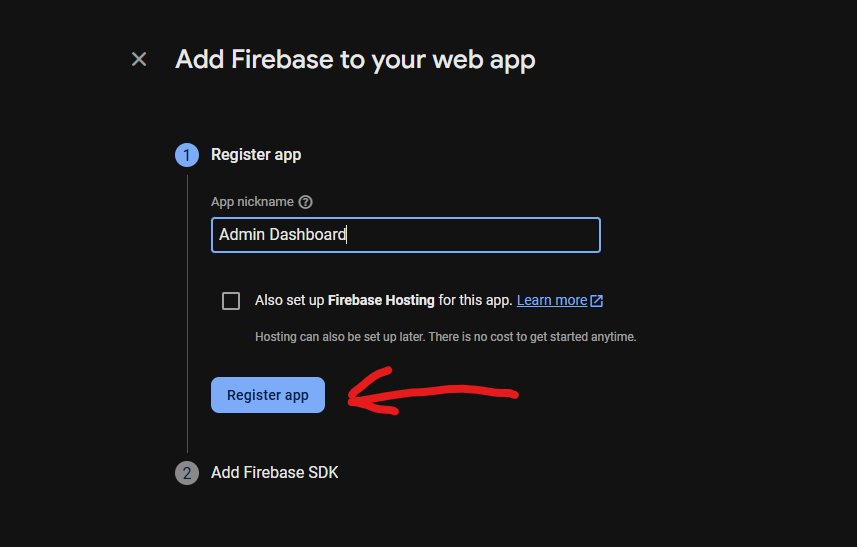
- After that you will get the Firebase Config, copy each of the variable according to the
.envfile.

for example:
VITE_FIREBASE_API_KEY=AszdfaSyAaa62jdwfafga33dfsasfrer4dasdf
Step 3. Run the Admin Dashboard
After setting up the .env correctly, now you can run the Admin Dashboard locally using the following command:
npm run dev
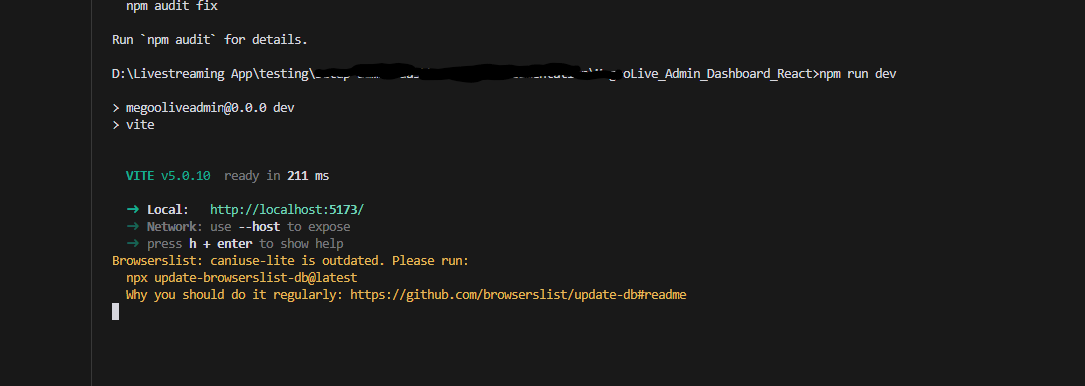 it should look like this
you can now open the URL that you get from the terminal, and log in using your email and password that you previously set up in the Create Admin Credentials tab.
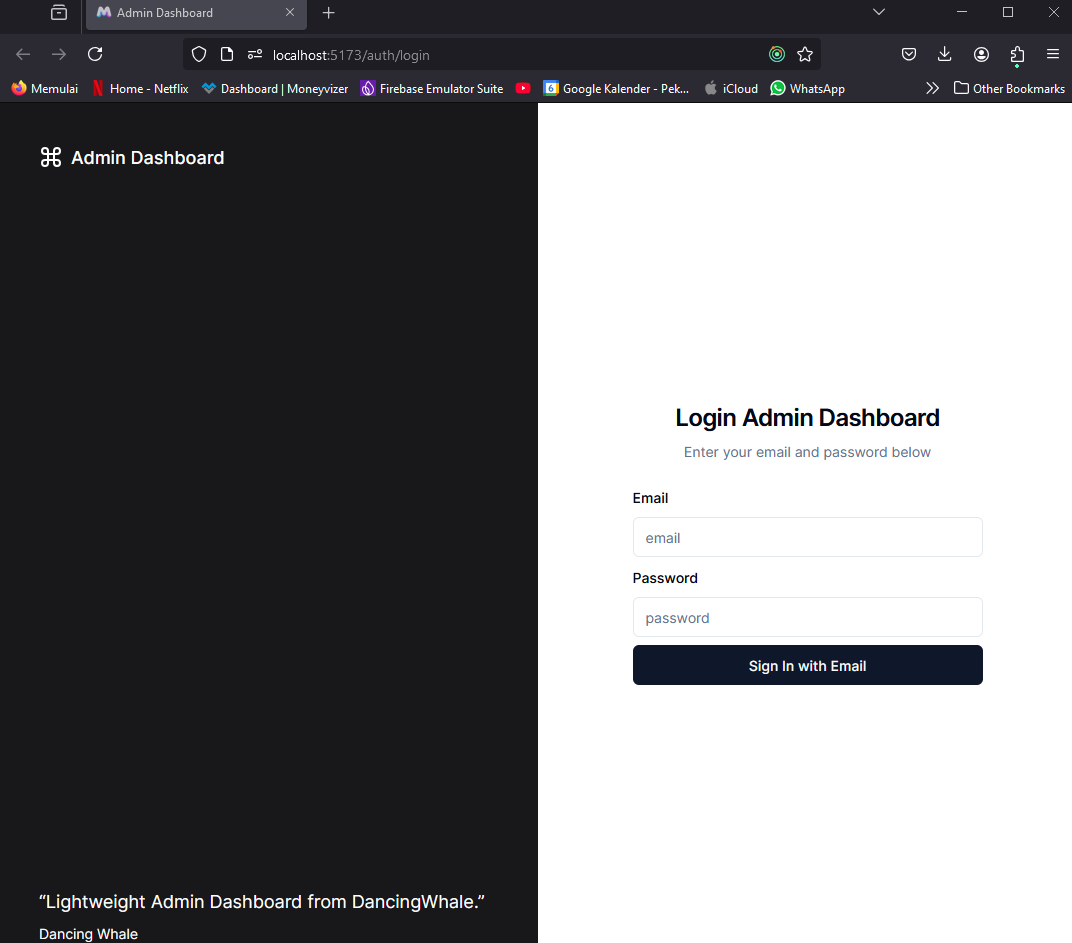
If it's just blank, it means that the .env file is not set up correctly, check the console to see the error.
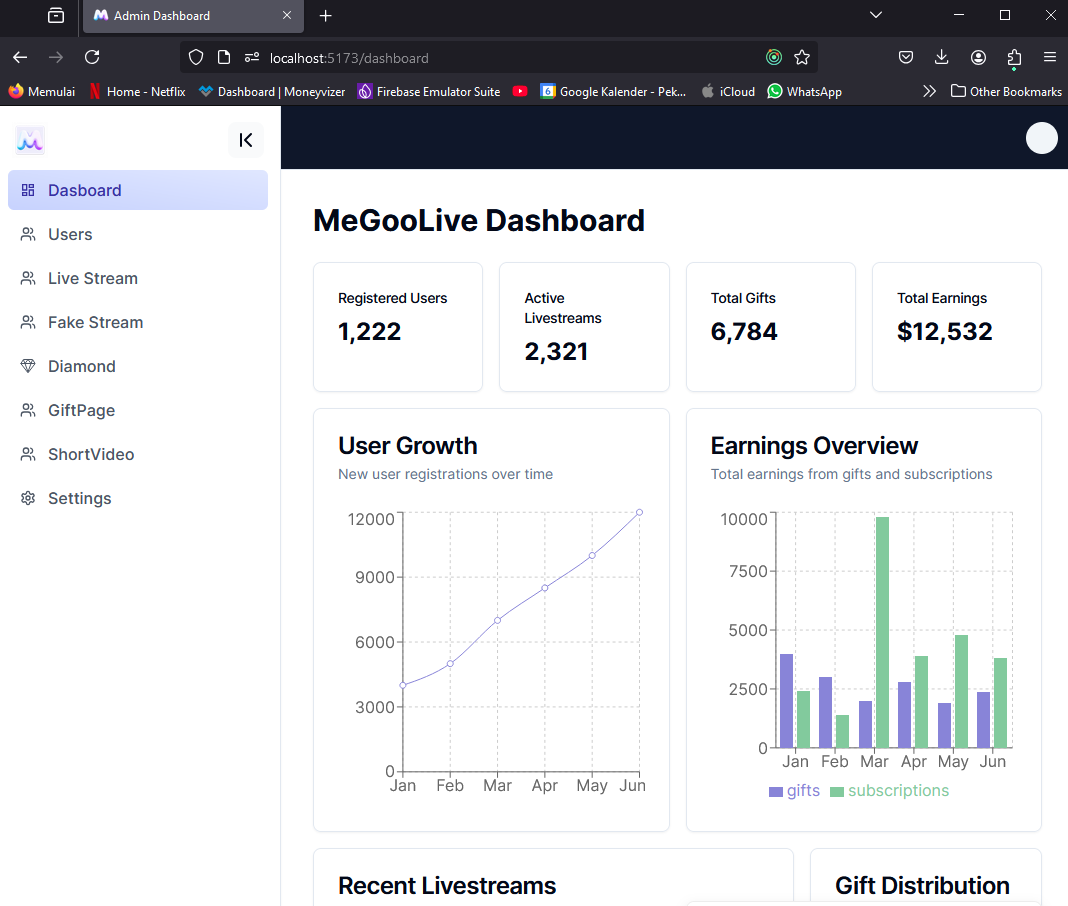
Now you use the Admin Dashboard to manage your ChessAi Game.
To help you develop and maintain the admin dashboard more efficiently, we've set up Plop.js as a code generator. You can use the npm run plop command to automatically generate various components and features:
-
To generate a new page:
- Run
npm run plop - Select "page" from the menu
- Enter the page name
- This will create a new page with proper routing and basic structure
- Run
-
To generate Redux state management:
- Run
npm run plop - Select "redux" from the menu
- Enter the feature name
- This will create actions, reducers, and selectors with proper TypeScript types
- Run
-
To generate a new component:
- Run
npm run plop - Select "component" from the menu
- Enter the component name
- This will scaffold a new React component with proper styling
- Run

The generated code follows best practices and maintains consistency across the codebase. This saves development time and reduces boilerplate code.
- After you can run the Admin Dashboard locally, in the next Step, we will Deploy that Admin Dashboard to Firebase Hosting.