Run Chess AI Game on Emulator
This guide will help you run the Chess AI Game on an Android emulator for testing and development purposes.
Prerequisites
Before running the app on an emulator, make sure you have:
- Android Studio installed on your computer
- Flutter SDK properly configured
- Chess AI Game project set up (see Setup Flutter Project guide)
- All project dependencies installed (
flutter pub get)
Step 1: Set up Android Emulator
Create a New Virtual Device
- Open Android Studio
- Go to Tools > AVD Manager (Android Virtual Device Manager)
- Click Create Virtual Device
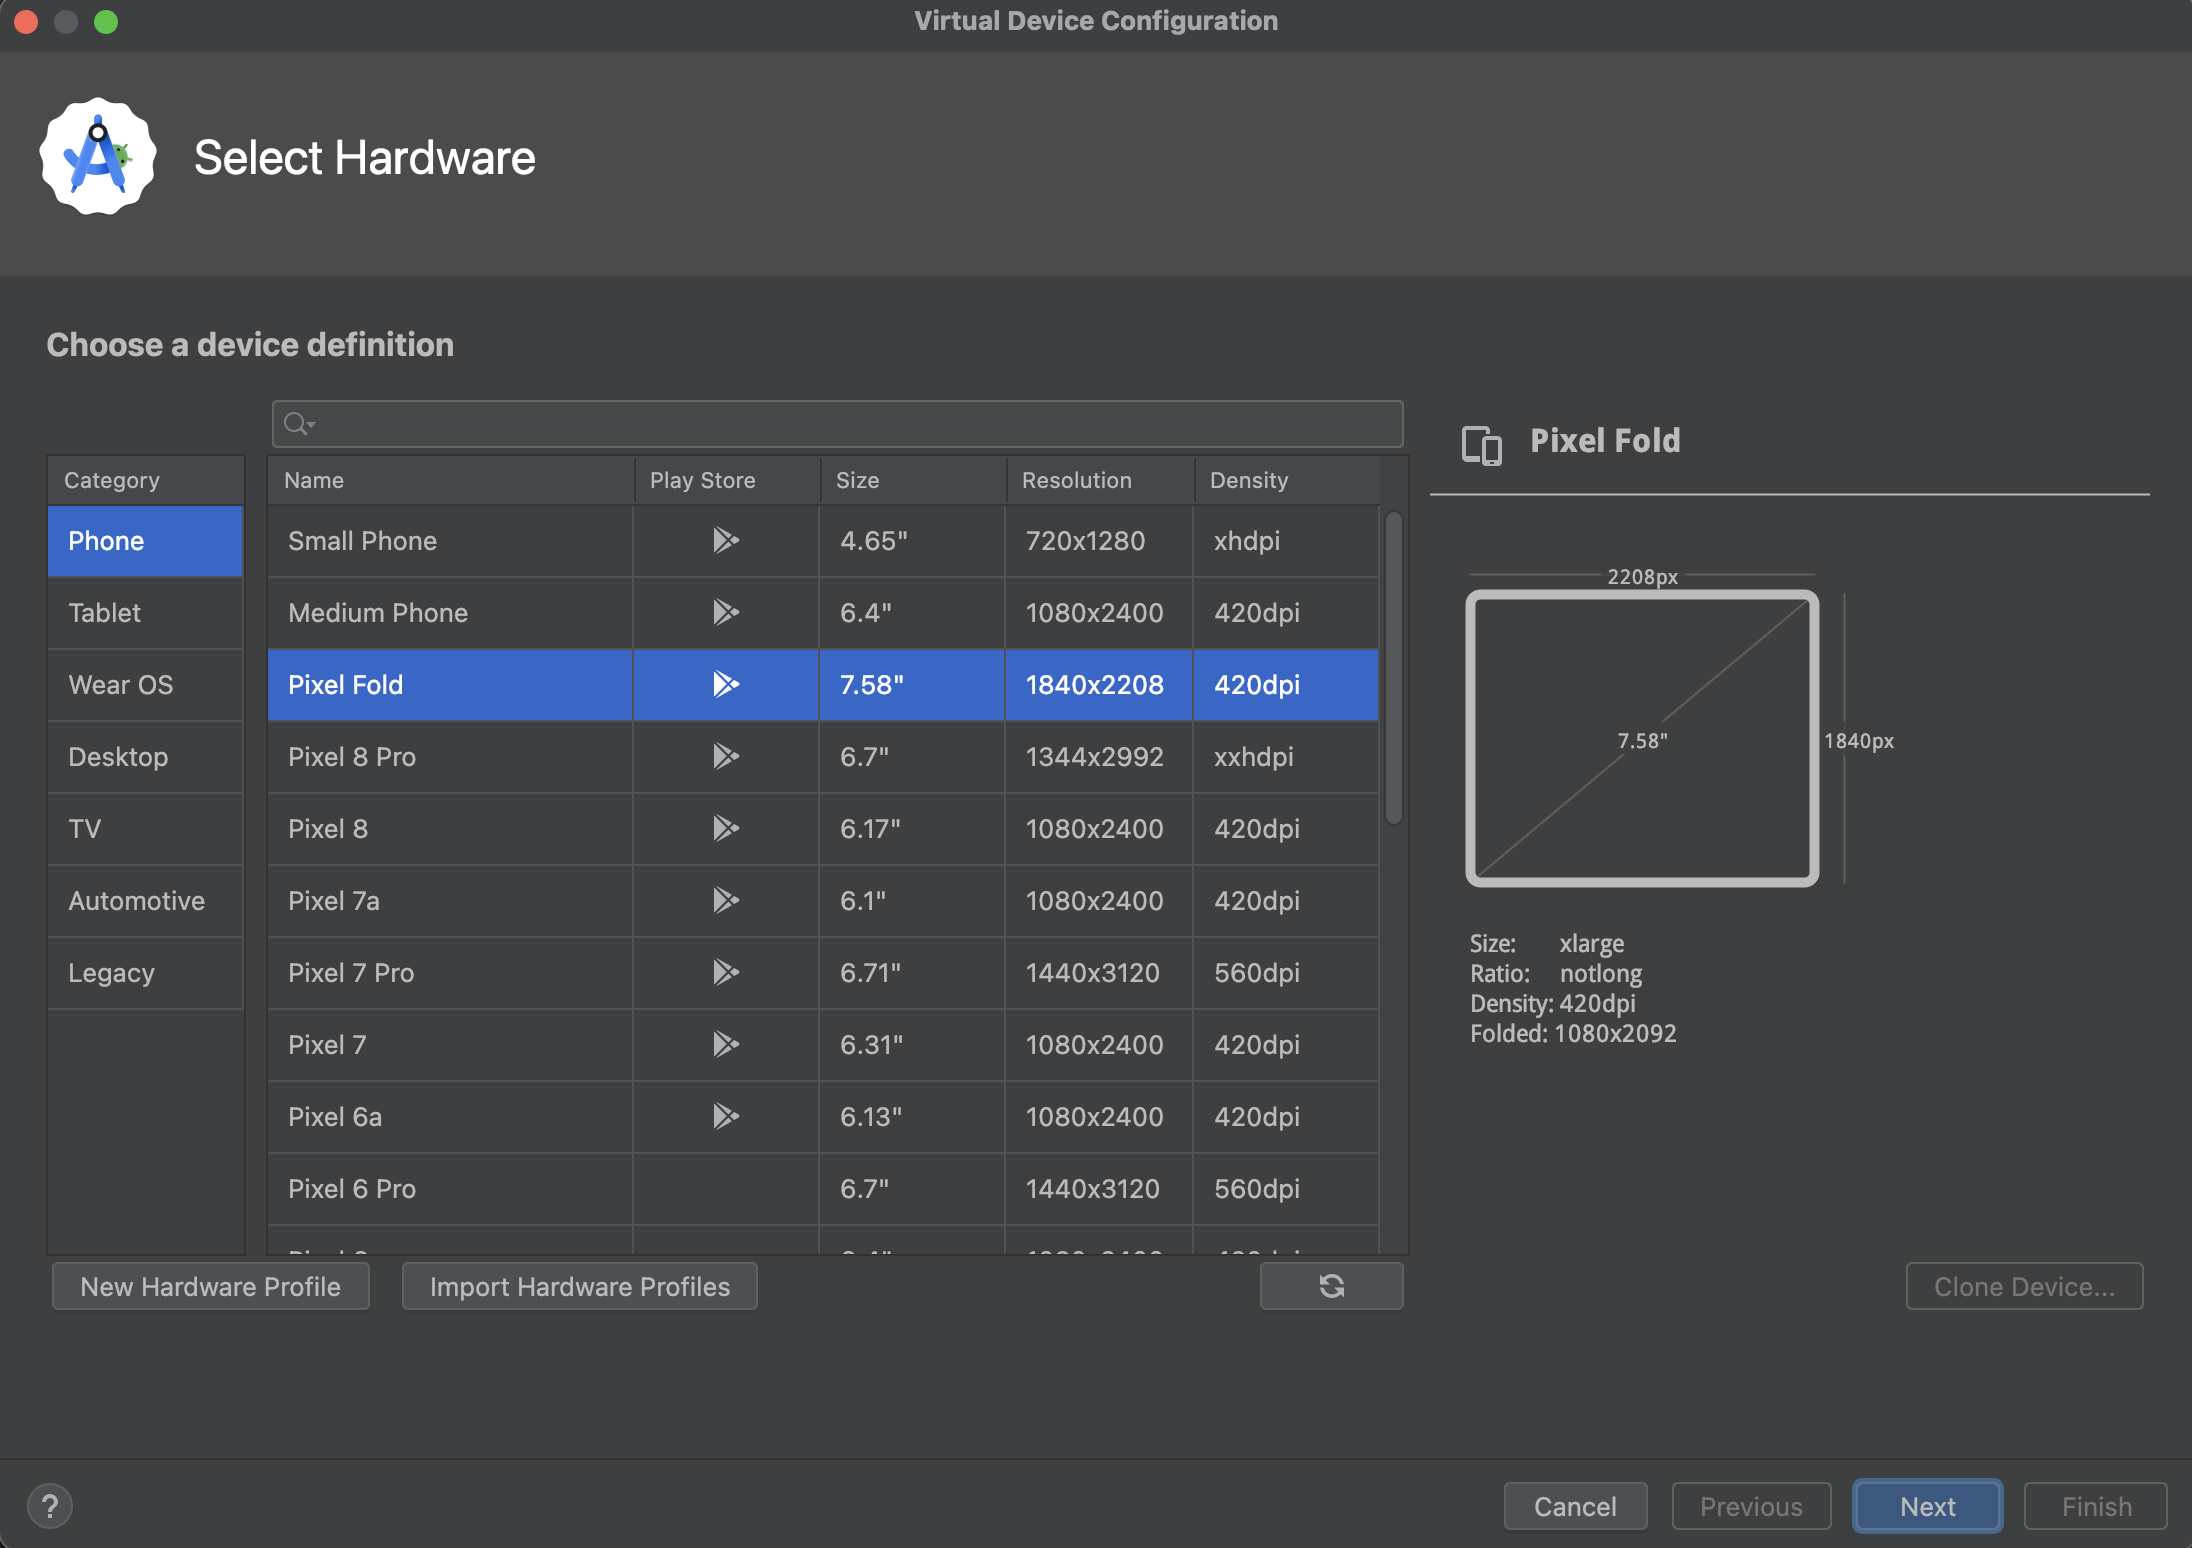
- Choose a device definition (recommended: Pixel 4 or Pixel 6)
- Click Next
Select System Image
- Choose an Android version (recommended: API 30 or higher)
- If not already downloaded, click Download next to your chosen system image
- Wait for the download to complete
- Click Next
Configure AVD
- Give your emulator a name (e.g., "Chess_Game_Emulator")
- Configure additional settings if needed:
- RAM: 2048 MB or higher
- Internal Storage: 2048 MB or higher
- SD Card: 512 MB (optional)
- Click Finish
Step 2: Start the Emulator
- In AVD Manager, find your created emulator
- Click the Play button (▶️) to start it
- Wait for the emulator to fully boot up (this may take a few minutes)
Step 3: Run Chess AI Game
Using VS Code
- Open the Chess AI Game project in Visual Studio Code
- Make sure the emulator is running and detected:
- Open Command Palette (
Ctrl+Shift+P) - Type "Flutter: Select Device"
- Choose your emulator from the list
- Open Command Palette (
- Press F5 or go to Run > Start Debugging
- Alternatively, use the terminal:
flutter run
Using Android Studio
- Open the Chess AI Game project in Android Studio
- Make sure your emulator is selected in the device dropdown
- Click the Run button (▶️) or press Shift+F10
Using Command Line
- Open terminal/command prompt
- Navigate to your Chess AI Game project directory:
cd path/to/chess_ai_game - Check if emulator is detected:
flutter devices - Run the app:
flutter run
Step 4: Verify Installation
Once the app launches on the emulator, you should see:
- Chess AI Game splash screen
- Main menu with options:
- Play vs AI
- Multiplayer
- Puzzles
- Practice
- Settings
- Functional chess board when starting a game
- AI opponent responding to your moves
Troubleshooting
Common Issues
Emulator not detected
# Check if emulator is running
flutter devices

# If not listed, restart the emulator
Build errors
# Clean and rebuild
flutter clean
flutter pub get
flutter run
Performance issues
- Increase emulator RAM to 4GB or higher
- Enable hardware acceleration in AVD settings
- Close unnecessary applications on your computer
App crashes on startup
- Check if all Firebase configuration files are properly placed
- Verify all dependencies are installed
- Check console logs for specific error messages
Performance Tips
-
Enable Hardware Acceleration:
- In AVD Manager, edit your emulator
- Set Graphics to "Hardware - GLES 2.0"
-
Allocate More Resources:
- Increase RAM to 4GB for better performance
- Set Multi-Core CPU to 4 cores if your computer supports it
-
Use Quick Boot:
- In AVD settings, enable "Quick Boot"
- This saves emulator state for faster startup
Next Steps
Once you have successfully run the Chess AI Game on the emulator:
- Test all game features (AI gameplay, multiplayer, puzzles)
- Try different board themes and settings
- Test multi-language support
- Verify music and sound effects
- Test game statistics and progress tracking
The emulator environment allows you to test the complete Chess AI Game experience before deploying to real devices.